Chevrolet Trax: Rear object alarm control module replacement
.gif)
Fig. 8: Rear Object Alarm Control Module
Rear Object Alarm Control Module Replacement
.jpg)
.jpg)
FRONT OBJECT ALARM SENSOR HOUSING REPLACEMENT
- Remove the front fascia. Refer to Front Bumper Fascia Replacement (Trax) , Front Bumper Fascia Replacement (Encore) .
.gif)
Fig. 9: Identifying Rear Object Sensor Housing
- Disconnect the sensor harness.
- Remove the sensor from the sensor housing.
The sensor housing must be painted if replaced. If reinstalled, painting will not be necessary.
.gif)
Fig. 10: Sanding/Grinding Sonic Weld Plastic Residue From Fascia
NOTE: Do Not grind off alignment tabs.
- Sand/grind sonic weld plastic residue from the fascia.
.gif)
Fig. 11: Applying Structural Adhesive Epoxy To Fascia
- Apply structural adhesive epoxy, Lord Fusor 127EZ or equivalent, to fascia at mating surface.
.gif)
Fig. 12: Identifying Sensor Housing & Tabs
- Using the alignment tabs, install the sensor housing to the fascia.
- Allow adhesive to cure according to manufacturer's directions.
.gif)
Fig. 13: Identifying Rear Object Sensor Housing
- Install the sensor to the sensor housing.
- Connect the electrical harness.
- Install the front fascia. Refer to Front Bumper Fascia Replacement (Trax) , Front Bumper Fascia Replacement (Encore)
FRONT OBJECT ALARM SENSOR WIRING HARNESS REPLACEMENT
.gif)
Fig. 14: Front Object Alarm Sensor Wiring Harness
Front Object Alarm Sensor Wiring Harness Replacement
.jpg)
REAR OBJECT SENSOR WIRING HARNESS REPLACEMENT
.gif)
Fig. 15: Rear Object Sensor Wiring Harness
Rear Object Sensor Wiring Harness Replacement
.jpg)
REAR PARKING ASSIST ALARM SENSOR REPLACEMENT
Removal Procedure
.gif)
Fig. 16: Identifying Rear Object Sensor Housing
- Remove rear bumper fascia. Refer to Rear Bumper Fascia Replacement .
- Disconnect electrical from the rear object sensor.
NOTE: The rear object sensor is a one piece design. Do NOT twist the sensor cap to try and remove the painted cap. Replacement sensor requires painting to match fascia/bumper body color.
- Lift the locking tabs on the housing and remove the rear object sensor.
Installation Procedure
NOTE: Do not refinish previously painted sensors. Excess paint build up will cause the sensor to be inoperative.
- Paint the rear object sensor. Refer to Basecoat/Clearcoat Paint Systems .
- Ensure the paint does not exceed 6 mils. Use a paint thickness gauge
suitable for non-ferrous metals.
Refer to Paint Gauges .
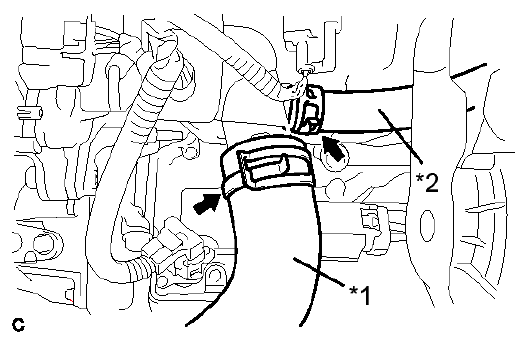
Fig. 17: Identifying Rear Object Sensor Housing
NOTE: Ensure the silicone decoupling ring is installed on the sensor to avoid sensor failure.
- Insert the sensor into the housing.
- Connect the electrical connector to the rear object sensor.
- Install the rear bumper fascia. Refer to Rear Bumper Fascia Replacement .
READ NEXT:
 Front view camera replacement (encore)
Fig. 18: Front View Camera
Front View Camera Replacement (Encore)
REARVIEW CAMERA IMAGE DISPLAY MODULE REPLACEMENT
Fig. 19: Rearview Camera Image Display Module
Rearview Camera Image Display Mod
Object Detection and Pedestrian Protection - Description and operation
OBJECT DETECTION DESCRIPTION AND OPERATION (REARVISION CAMERA, UVC)
Rear Vision Camera System Operation
The rear vision camera system consists of a video camera located at the rear
of the vehicle and
Object detection description and operation (rear park assist, UD7)
The parking assist system is designed to identify and notify the driver of an
object in the vehicle path when
reversing at speeds of less than 8 km/h (5 MPH). The distance and location of
the object
SEE MORE:
HVAC System malfunction (C60)
Diagnostic Instructions
Perform the Diagnostic System Check - Vehicle prior to using this
diagnostic procedure.
Review Strategy Based Diagnosis for an overview of the diagnostic
approach.
Diagnostic Procedure Instructions provides an overview of each
diagnostic category.
Diagnostic Aids
C
Specifications
BODY CONTROL MODULE SCAN TOOL INFORMATION
Body Control Module Scan Tool Data Parameters
Body Control Module Scan Tool Output Controls
CHASSIS CONTROL MODULE SCAN TOOL INFORMATION
Chassis Control Module Scan Tool Data Parameters
Chassis Control Modu
